Tích hợp với Electron Builder
Tài liệu này mô tả cách tích hợp dịch vụ ký mã từ xa vào quy trình build ứng dụng Electron, sử dụng electron-builder để tự động ký các gói cài đặt và tệp thực thi trên nền tảng Windows.
Mẹo
Ở đây sử dụng một dự án mã nguồn mở để kiểm thử vite-electron-builder.
Điều kiện tiên quyết
- Đã có tài khoản dịch vụ ký mã từ xa sslTrus khả dụng và đã nhận được thông tin xác thực hợp lệ (AK/SK).
- Đã có một dịch vụ ký mã từ xa dùng để ký.
- Dự án được build dựa trên
electron-builder.
Các bước tích hợp
Bước 1: Cấu hình tệp Electron Builder
Trong thư mục gốc của dự án Electron của bạn, hãy tìm và sửa tệp electron-builder.mjs (hoặc electron-builder.yml/config.js).
Dưới đây là một ví dụ cấu hình hoàn chỉnh, cần sửa cấu hình mặc định và thêm phương thức ký tùy chỉnh signtoolOptions.sign.
export default /** @type import('electron-builder').Configuration */
({
  win: {
    target: [
      {
        target: 'nsis',
        arch: ['x64'],
      },
    ],
    signtoolOptions: {
      sign: customSign,
      signingHashAlgorithms: ['sha256'], // 这里只需要选择一个即可,实际的双签由 customSign 执行
    },
  },
});

async function customSign(configuration) {
  const srcPath = configuration.path;
  const cwd = process.cwd();
  const relPath = relative(cwd, srcPath);

  // 设置环境变量 export SIGNTOOL_ACCESS_KEY='' SIGNTOOL_ACCESS_SECRET='' SIGNTOOL_CERT_CODE=''
  const {SIGNTOOL_ACCESS_KEY, SIGNTOOL_ACCESS_SECRET, SIGNTOOL_CERT_CODE} = process.env;
  if (!SIGNTOOL_ACCESS_KEY || !SIGNTOOL_ACCESS_SECRET || !SIGNTOOL_CERT_CODE) {
    console.error(`[ERROR] Missing environment variables: SIGNTOOL_ACCESS_KEY, SIGNTOOL_ACCESS_SECRET, SIGNTOOL_CERT_CODE`);
    return;
  }

  // 下载对应平台的命令行工具
  const signtoolPath = join(cwd, 'signtool', 'signtool');
  const dir = dirname(srcPath);
  const ext = extname(srcPath);
  const name = basename(srcPath, ext);
  const randomStr = randomBytes(4).toString('hex');
  const tempPath = join(dir, `${name}-${randomStr}${ext}`);

  const startTime = Date.now();

  try {
    console.log(`[SIGNING] ${relPath}`);

    const logFilePath = join(cwd, 'signtool', name + '.log');
    writeFileSync(logFilePath, `Source: ${srcPath}\nTime: ${new Date().toLocaleString()}\n\n`);
    const logFd = openSync(logFilePath, 'a');

    // 签名默认不会覆盖源文件,且目标文件不存在,所以先将源文件重命名为临时文件
    renameSync(srcPath, tempPath);

    // 参数可参考 signtool 命令行解析
    const command = [
      signtoolPath,
      'sign',
      `-k "${SIGNTOOL_ACCESS_KEY}"`,
      `-s "${SIGNTOOL_ACCESS_SECRET}"`,
      `-c "${SIGNTOOL_CERT_CODE}"`,
      `-f "${tempPath}"`, // 源文件
      `-o "${srcPath}"`,  // 目标文件
      '--nest=true', // 嵌套签名
      '--sha1=false', // sha1 签名,对于 bool 值的参数传递需要使用 arg=value 的方式,不可使用 arg value 的形式
      '--timestamp http://timestamp.sectigo.com',
      '--sha2=true', // sha2 签名
      '--timestamp-rfc3161 http://timestamp.sectigo.com',
    ].join(' ');

    // 将 signtool 的日志输出到文件
    execSync(command, {stdio: ['ignore', logFd, logFd]});

    // 删除临时文件
    rmSync(tempPath, {force: true});

    const duration = ((Date.now() - startTime) / 1000).toFixed(2);
    console.log(`[SUCCESS] Finished in ${duration}s -> ${relPath}`);
  } catch (e) {
    console.error(`[FAILURE] Failed to sign: ${relPath}`);
    console.error(`          Check log: signtool/${name}.log`);
    process.exit(1);
  }
}
Bước 2: Biên dịch
Sau khi hoàn tất cấu hình, hãy chạy lệnh build Electron của bạn. Trong quá trình build, hàm ký tùy chỉnh nêu trên sẽ được tự động gọi.
# 示例:构建 Windows 64位 安装包
npm run compile -- --win --x64
# 或使用 npx
npx electron-builder build --config electron-builder.mjs --win --x64
Quá trình biên dịch
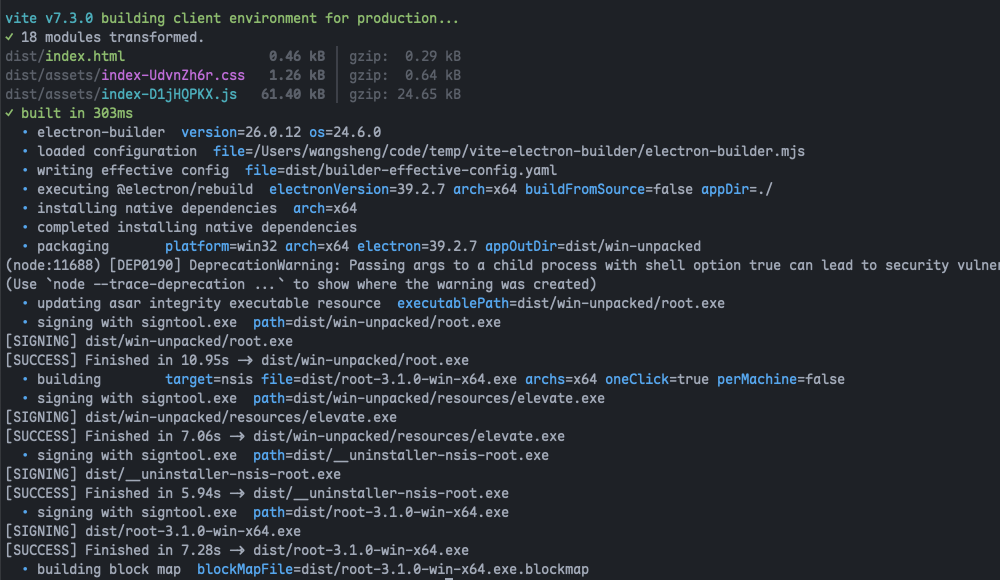
Kết quả biên dịch
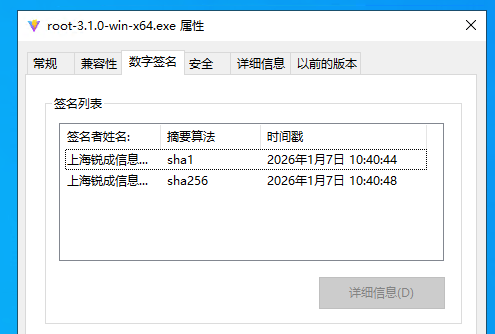
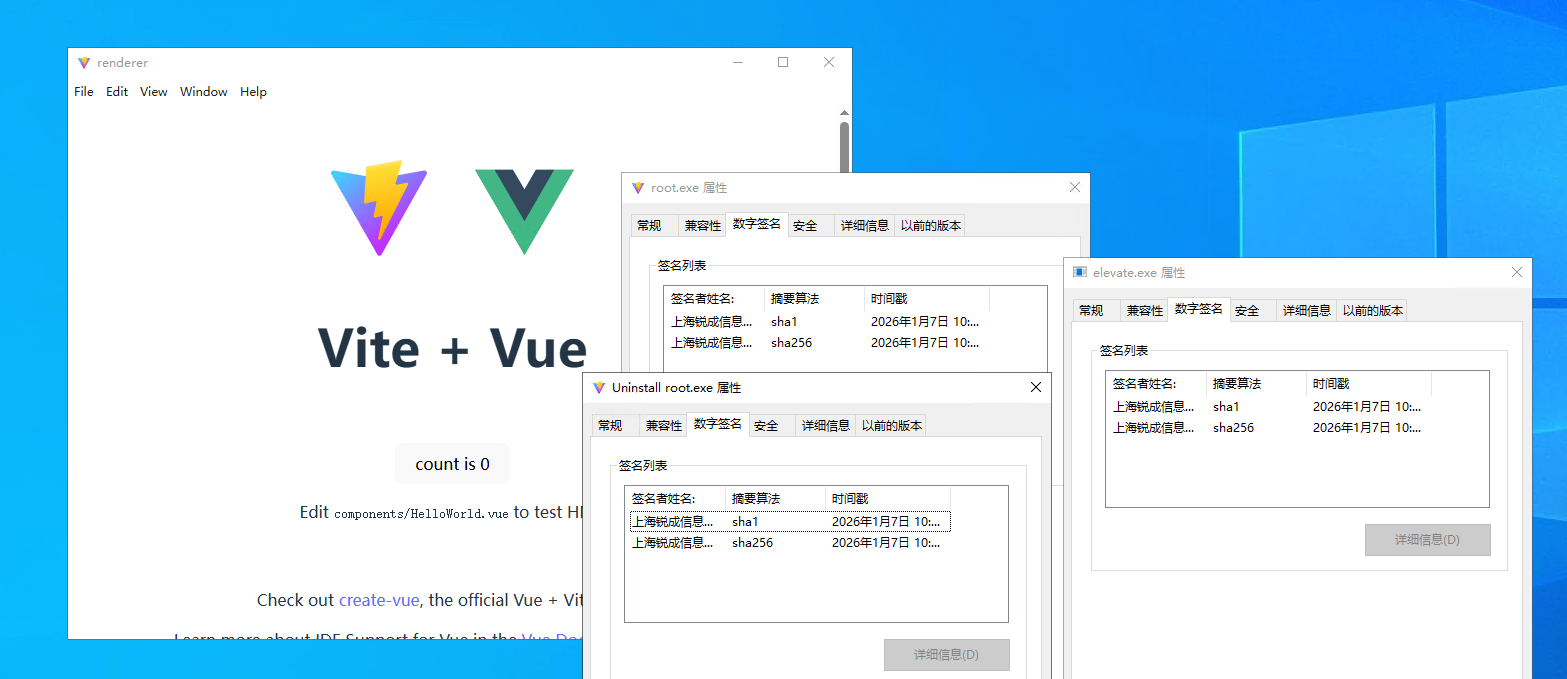
Gói cài đặt và chương trình chính đều đã được ký